A test Docker-BSDPy environment
Some Mac Admins have recently blogged about testing BSDPy using Docker:
- @grahamgilbert - Getting Started With BSDPy on Docker
- @hunty1er - Creating a NetBoot Server with CentOS 7 and BSDPy
I decided to try it out in a setup that suited me. Here’s how it went.
What is BSDPy?
Put simply, BSDPy is an alternative to Apple’s NetBoot/NetInstall. The premise is to provide a NetBoot/NetInstall service from a Linux host, removing another necessity for an OS X Server. Since Apple stopped providing server-grade hardware, this has been on Mac Admins’ agendas.
The posts above details all the reasons for trying this. This post is not intended to replace those posts, simply to document the set up I used to get this working.
Pre-requisites
My set up is a MacBook Air, with 8GB RAM, and the following programs installed:
- VirtualBox
- VMWare Fusion (version 6). Version 7 will work. Note this isn’t a free program, but is required to test NetBooting an OS X VM. If you have a spare physical Mac on your network, you can use this instead.
- DeployStudio
- Vagrant
- TextWrangler with Command Line Tools - this enables the
editcommand. You can substitutenanoorvior another editor.
Side note: I use AutoPkg to install TextWrangler, VirtualBox and Vagrant.
1 - Setup VMWare Fusion
My setup was based on instructions on @rtrouton’s Der Flounder blog entry Building Mac test environments with VMWare Fusion, NetBoot and DeployStudio.
- Download the latest OS X installer from the App Store, but don’t install it. This should reside in your
/Applicationsfolder, named Install OS X Yosemite.app. - Open VMWare Fusion, click on File > New
- Drag Install OS X Yosemite.app into the “Install from Disk or Image” window
- Allow the standard setup for OS X 10.10, but press “Customise” before launching.
- In the “Startup Disk” pane, set the VM to boot to the “Network Adapter NAT”.
- Leave VMWare Fusion open (but don’t start the VM) while you perform the remaining tasks - you need the virtual network interface to be active.
2 - Setup Vagrant
I used a CentOS 7.0 VM to better emulate my shop’s configuration.
If you wish, you can just clone the Vagrantfile and startup.sh shown below using git, and move on to Step 4:
$ mkdir -p ~/vagrant/docker-bsdpy
$ git clone https://github.com/grahampugh/docker-bsdpy-vagrant.git ~/vagrant/docker-bsdpy
Otherwise, carry on reading to create the files yourself:
$ mkdir -p ~/vagrant/docker-bsdpy/nbi
$ cd ~/vagrant/docker-bsdpy
$ vagrant init chef/centos-7.0
$ edit Vagrantfile
Vagrantfile should have the following contents:
# -_- mode: ruby -_-

# vi: set ft=ruby :

Vagrant.configure(2) do |config|
config.vm.box = "chef/centos-7.0"

config.vm.network "public_network"
config.vm.synced_folder '.', '/vagrant', disabled: true
config.vm.synced_folder '.', '/usr/local/docker', {:mount_options => ['dmode=777','fmode=777']}

end
This config allows us to populate ~/vagrant/docker-bsdpy with scripts, and ~/vagrant/docker-bsdpy/nbi with our NetBoot Images, so we don’t need to manually copy them into the VM.
3 - Create a Startup script which will be used to setup the Docker BSDPy environment
$ cd ~/vagrant/docker-bsdpy
$ edit startup.sh
Edit the contents of startup.sh. The ETH variable is the network interface you are going to use. In my case, the virtual interface created by my VMware Fusion installation (enp0s8) worked best. You may get away with eth0 or eth1. Experiment!:
#!/bin/bash

# Set this to match the valid interface

ETH="enp0s8"

# Setup machine

yum update -y
yum install -y nano docker-io
service docker restart
chkconfig docker on

# Pull

docker pull hunty1/bsdpydocker

# Clean up

docker stop bsdpy
docker rm bsdpy

# Run

chmod -R 777 /usr/local/docker/nbi
IP=`ifconfig $ETH | awk '/inet / {print $2}' | sed 's/ //'`
echo $IP

docker run -d \
 -p 0.0.0.0:69:69/udp \
 -p 0.0.0.0:67:67/udp \
 -p 0.0.0.0:80:80 \
 -v /usr/local/docker/nbi:/nbi \
 -e DOCKER_BSDPY_IFACE=$ETH \
  -e DOCKER_BSDPY_IP=$IP \
 -e DOCKER_BSDPY_NBI_URL=http://$IP \
 --name bsdpy \
 --restart=always \
 hunty1/bsdpydocker
4 - Make a DeployStudio NetBoot Image
Or use an existing one. I won’t go through GUI snapshots. Just make sure Python is enabled, and it’s set to HTTP type (not NFS). Once created, you need to move or copy it to the nbi folder and make some tweaks:
$ cp /Library/NetBoot/LibrarySP0/OSX-NETBOOT.nbi ~/vagrant/docker-bsdpy/nbi/
$ cd ~/vagrant/bsdpy/nbi/OSX-NETBOOT.nbi
$ rm NetInstall.dmg
$ mv NetInstall.sparseimage NetInstall.dmg
$ edit NBImageInfo.plist
You may wish to remove the entries from the DisabledSystemIdentifiers array. You should also ensure the following keys are set as follows:
...
<key>DisabledSystemIdentifiers</key>
<array/>
<key>IsDefault</key>
<true/>
<key>IsEnabled</key>
<true/>
<key>Type</key>
<string>HTTP</string>
...
5 - Vagrant up!
It’s time to start up your virtual Linux server.
$ chmod 755 startup.sh
$ vagrant up
You will be asked to select a network interface. On my tests, vmnet8 was the correct choice.
$ vagrant up
Bringing machine 'default' up with 'virtualbox' provider...
==> default: Checking if box 'chef/centos-7.0' is up to date...
==> default: Fixed port collision for 22 => 2222. Now on port 2200.
==> default: Clearing any previously set network interfaces...
==> default: Available bridged network interfaces:

1. en1: Wi-Fi (AirPort)
2. en0: Ethernet
3. p2p0
4. vmnet1
5. vmnet8
   ==> default: When choosing an interface, it is usually the one that is
   ==> default: being used to connect to the internet.
   default: Which interface should the network bridge to? 5
Now, we are ready to run the startup script. If all goes well, you should be able to netboot to your NBI!
$ vagrant ssh -c 'sudo /usr/local/docker/startup.sh'My setup encountered problems with a VirtualBox Guest Additions mismatch. YMMV. This is why I haven’t set startup.sh to run in the Vagrantfile. You can uncomment it from the Vagrantfile if you want to try this out, and can certainly uncomment for subsequent vagrant up runs. These commands fixed it:
$ vagrant ssh -c 'sudo yum update -y'
$ vagrant ssh -c 'sudo /etc/init.d/vboxadd setup’
If you encountered this too, you’ll get an error about needing to install a new kernel-devel-3.* package. Copy the version into the command:
$ vagrant ssh -c 'sudo yum install gcc yum install kernel-devel-3.\*' ### copy the full path from the error message
$ vagrant ssh -c 'sudo /etc/init.d/vboxadd setup’
$ vagrant reload-
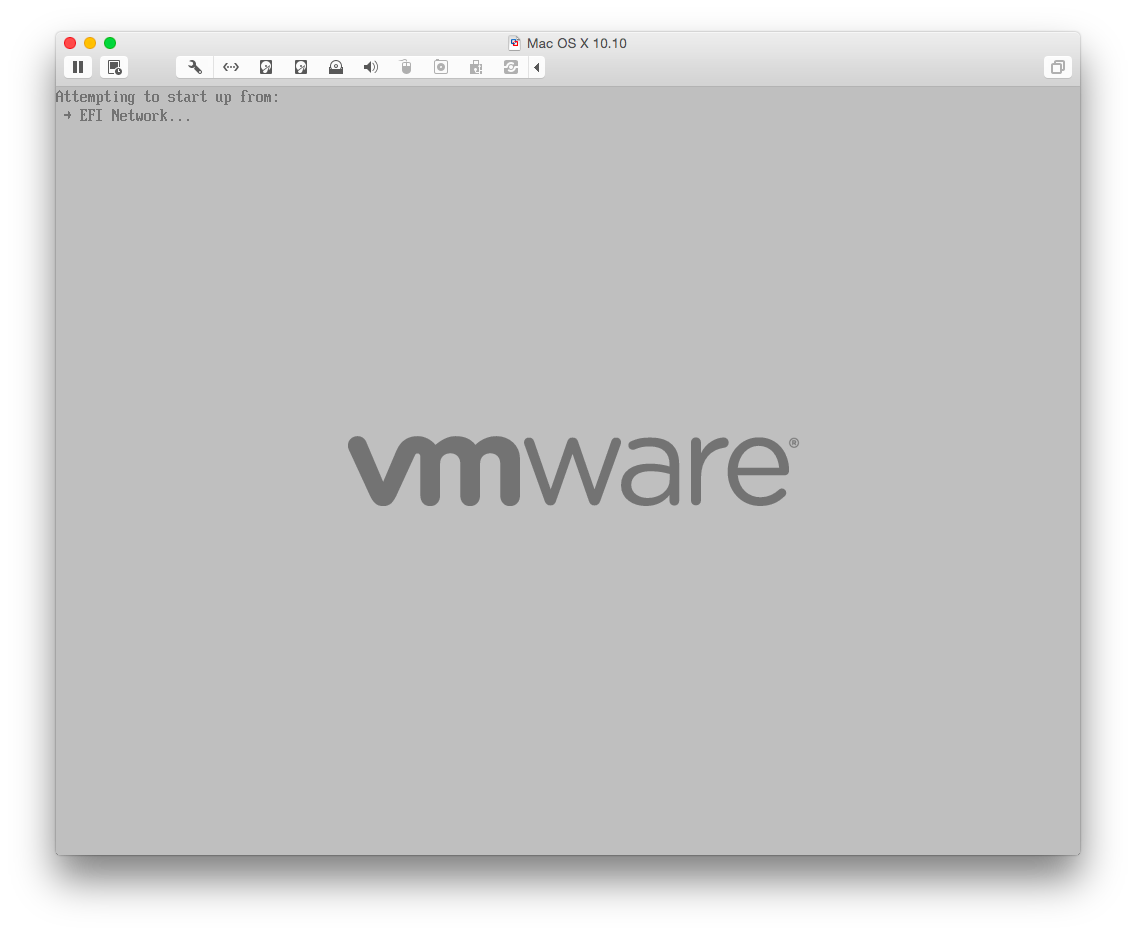
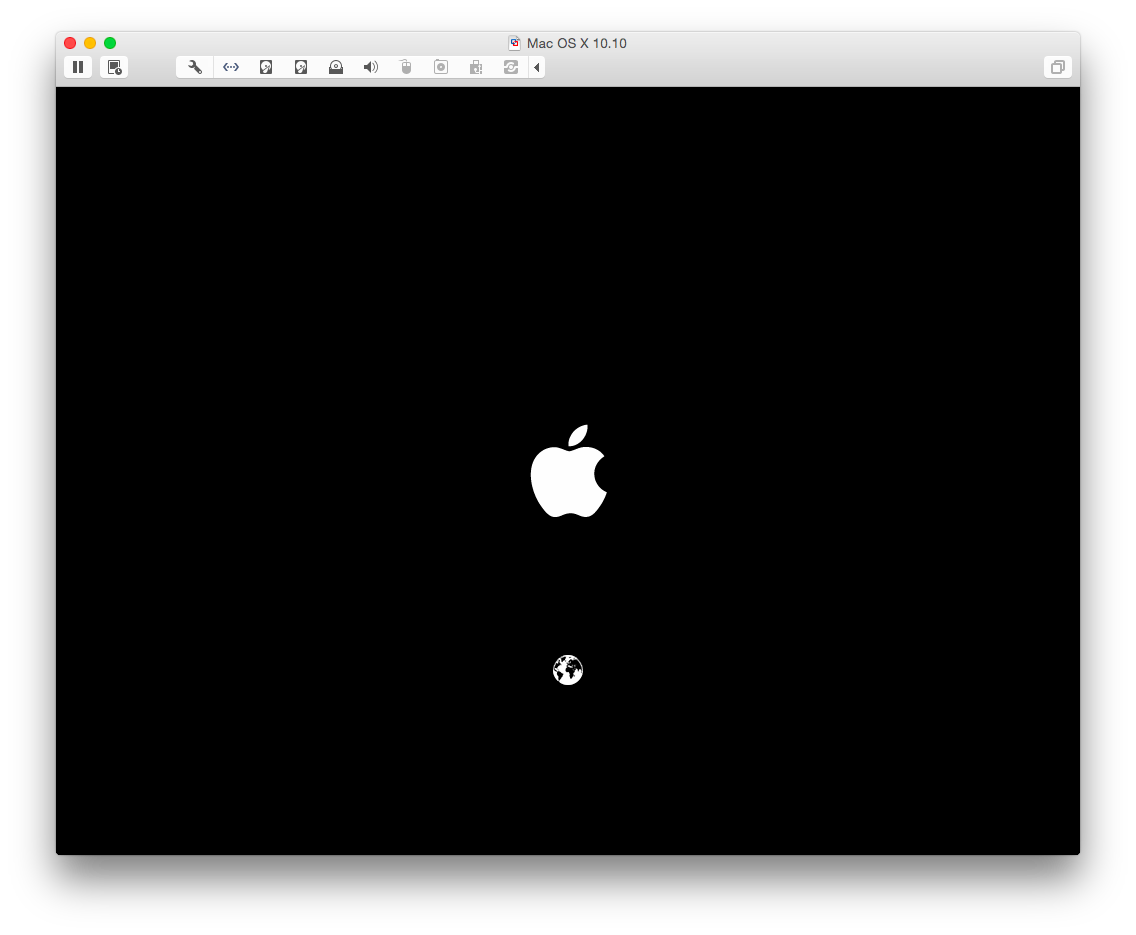
Boot your VMWare Fusion VM
Boot up your VMWare Fusion OS X VM. If all goes well, you’ll see the VMWare boot screen, attempting to boot from EFI Network, and then the OS X boot screen with spinning globe:
To check what’s going on, you can monitor the log:
$ vagrant ssh -c 'sudo docker logs -f bsdpy'
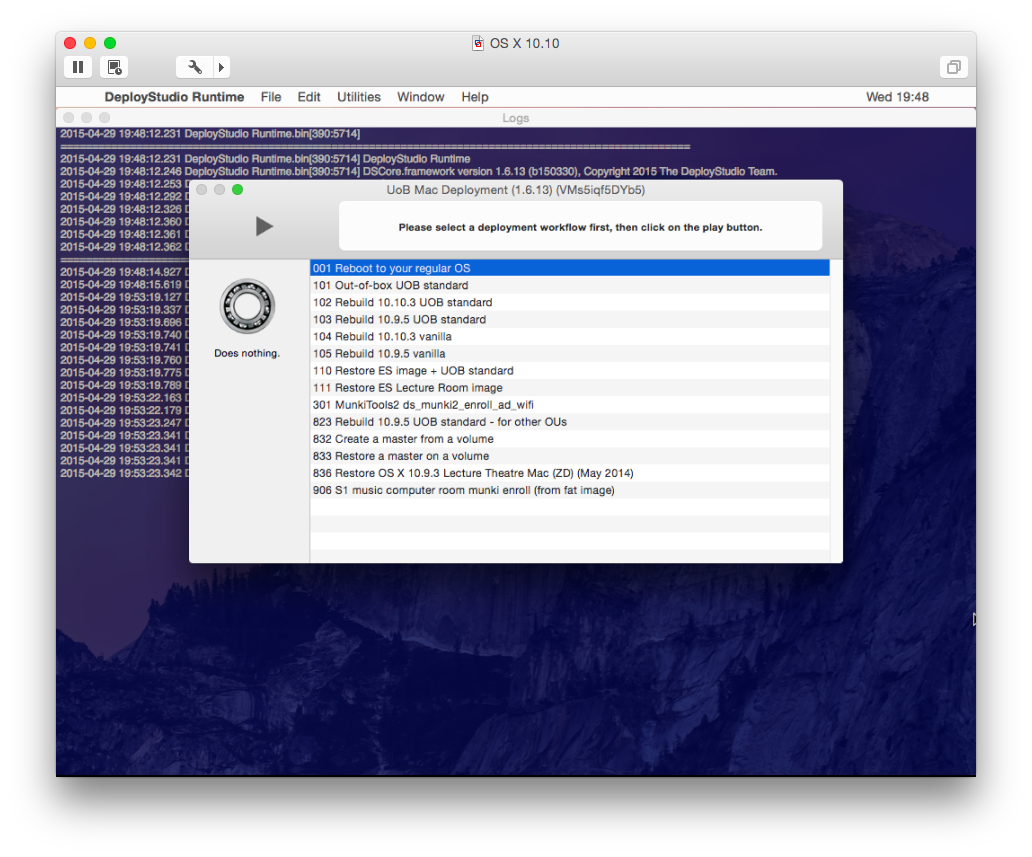
Here’s my very first virtual DeployStudio workflow window!