Run-Munki-Run: Another Simple Munki Test Environment
This post describes yet another way of quickly building a test environment for evaluating Munki, AutoPkg and associated tools, and testing the deployment of packages.
Munki and AutoPkg are mature tools for automated software deployment and update maintenance. Both are are CLI-based tools which are simple to set up.
AutoPkg can run only on a Mac, whereas Munki can run on any device that can serve HTTP/HTTPS. Since all Macs ship with Apache2, You can use any Mac to set up a demonstration server: see the Munki Wiki Demonstration Setup.
Tom Bridge’s Munki In A Box script is another simple way to setup a demonstration environment for Munki, adding AutoPkg, AutoPkgr, MunkiAdmin and MunkiReport-PHP to the mix. This enables a largely GUI-baed experience on Macs.
There are, however, other useful Munki management tools with which it can be beneficial to evaluate, as they are cross-platform and therefore better suited to a large-scale installation, but are not as easy to set up. Sal is a full-featured reporting tool for Munki, MunkiWebAdmin2 is a web application for manipulating Munki, and Munki-Do is a development of MunkiWebAdmin offering an alternative interface. These tools depend on a more advanced web server setup.
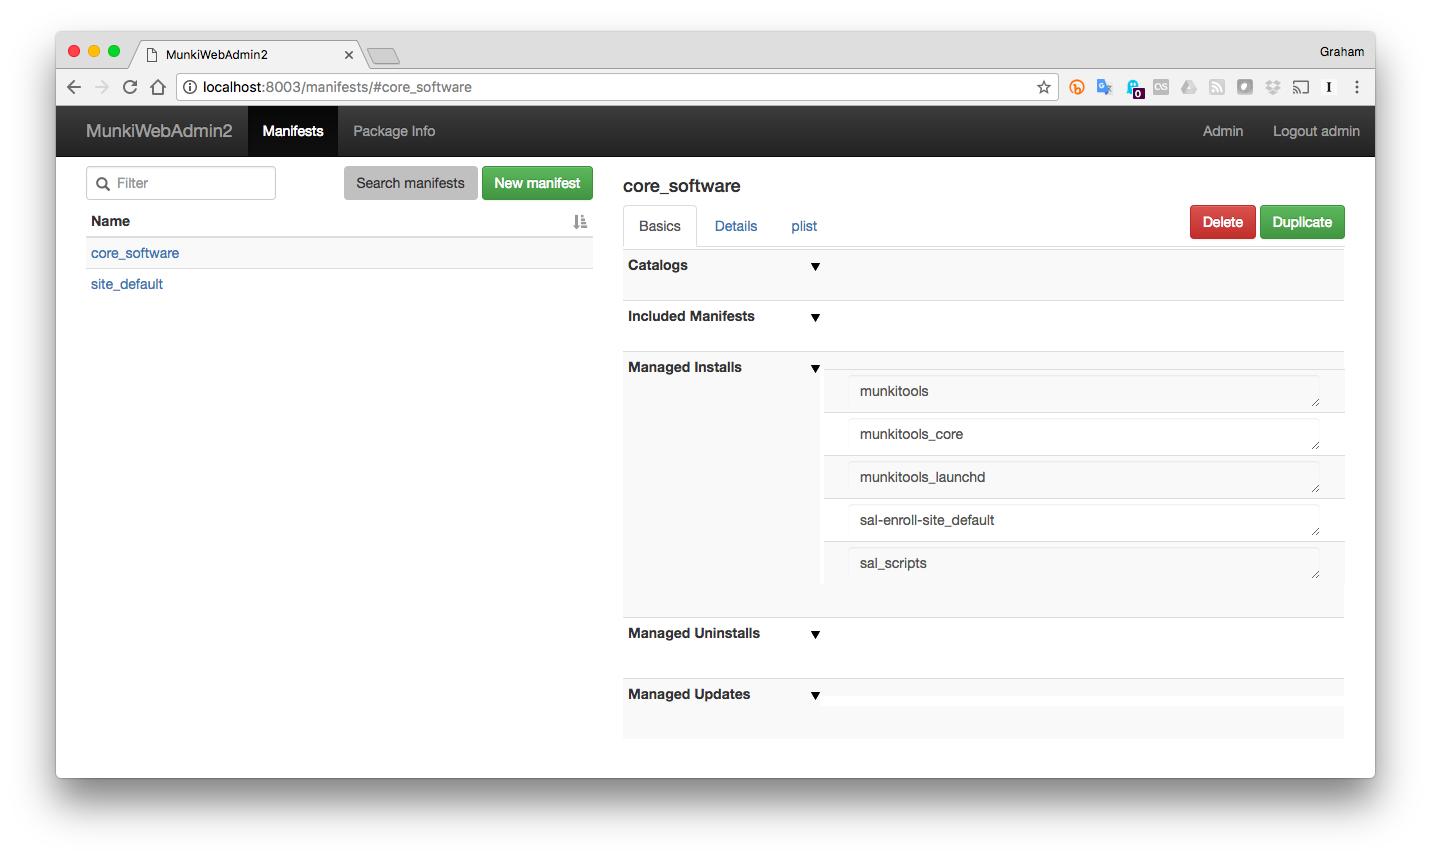 The MunkiWebAadmin2 interface showing the basic setup of manifests provided by Run-Munki-Run
Just Run, Munki, Run!

Docker provides a way to run applications securely isolated in a container, packaged with all its dependencies and libraries. This makes setting up applications easier than trying to do it from scratch. In the past two years, the installation of Docker itself has become simple across most platforms.
As an exercise in scripting the setup of a home Munki server/dev environment for testing new Munki releases and package deployment, I developed Run-Munki-Run, a single-run script utilising Docker for Mac, that sets up Munki and AutoPkg, provides a Munki server, and web-based GUIs for MunkiWebAdmin2 and/or Munki-Do, and Sal. The idea is that you clone this repo to any Mac and, as much as is possible, it “just works”.
It runs a basic and customisable set of AutoPkg recipes to populate the Munki repo, and sets up the basic Munki catalogs and manifests. It automatically generates a customised Munki Client Installer for deployment, including the required settings to use basic HTTP authentication, adding a layer of security to the repository. It also provides the tools to create the Sal client installer so that client reporting can be enabled.
Since I had an old Mac mini at home that I wanted to be my Munki server, I have provided options in the scripts to allow them to run on older Macs that are unable to run the integrated Docker for Mac, and require the VirtualBox-based Docker-Machine.
For testing purposes I have also adapted the scripts so that the Docker-based tools can be run on Linux (so far only tested on Ubuntu 14.04 LTS).
How does it work?
A basic setup on a modern Mac is as follows:
- Install Docker for Mac using default settings.
- Type
gitin your Mac terminal. If git is not already installed, follow the instructions to install git (it’s easy!). - Clone this repo with the command:
git clone https://github.com/grahampugh/run-munki-run.git. - Change directory:
cd run-munki-run. - Open
settings.shand change the value ofHTPASSWD. This password is required to access the Munki repo via the web, which you will need later on. - Enter the command:
./RUN-ME-FIRST.sh. - You will be prompted for your administrator password. Depending on how long the first part of the setup takes,
you may be asked for your password again when the second part (
run-munki-run.sh) starts.
After several minutes while everything is setup, you will be provided the web addresses for Sal and MunkiWebAdmin2, and the address of the Munki Client installer.
To install the generated Munki client installer:
- Either on the same Mac
or another Mac on the same network, type the address of the client installer into the
web browser, which will be in the form
http://123.45.67.89:8000/repo/installers/ClientInstaller.pkg(with your actual IP address substituted). You need to enter the basic authentication username (munki) and password from point 5 at this point. Alternatively you could grab the package from/Users/Shared/repo/installers/ClientInstaller.pkgand distribute it by other means such as File Sharing, E-Mail or even DeployStudio. - Install the package (note it is not signed, so you need to press Ctrl, click on the package, and press Open).
After the client restarts, open Managed Software Center.app.
The scripts are designed with checks so that you can re-run them without harming the environment whenever you want to change a setting, or if something has gone wrong. On older Macs, for instance, Docker Machine is not very good at restarting after a reboot. But just running ./run-munki-run.sh again should get everything back up again as it was. Or, say you want to add a new piece of software, just add it to recipe-list.txt and re-run ./RUN-ME-FIRST.sh, and the script will do the necessary things to get the piece of software into your Munki manifest.
How do I customise it for my environment?
See the Run-Munki-Run Github page for more information about setting up Sal, and the many options
and customisations available in the settings. Delve into the settings.sh script where you will see all sorts of options available.
Let me know if you use it. File issues if it doesn’t work for you!